When testing manure, your nutrient management plan is only as good as your ability to obtain a representative sample. In liquid manure storage, agitation is critical to spreading uniform manure and to getting a representative sample. Agitating for 2-4 hours is the minimum. Depending on the type of storage longer agitation times may be required. The agitation for sampling should be similar to the agitation done when the storage is emptied. For this reason the most practical time to sample is when the storage is being emptied for field application.
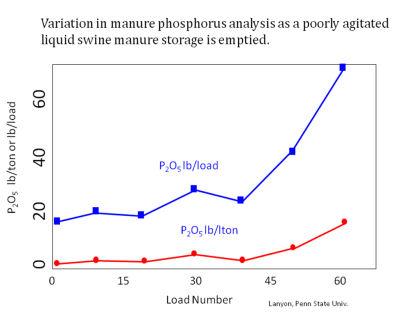
If the storage is not adequately agitated there will likely be stratification. The figure below illustrates how manure analysis can vary within a storage without adequate agitation. In this example manure in the last 15 loads spread from this storage has 2 to 3 times more phosphorus than in the first 45 loads spread. If the storage is known to be stratified, separate samples should be taken as the manure consistency changes during emptying.
Sampling As Manure Storage Is Emptied
Agitate the storage thoroughly before sampling. Use a bucket to collect at least 5 samples during the process of loading several spreader loads and save them in the bucket. When all of the samples are collected, thoroughly mix the samples and take a subsample from this to fill the lab manure test container. When filling containers with liquid manure never fill the container more than ¾ full. If samples are collected over a several hour period, the bucket with manure sample should be stored on ice to limit ammonia losses.

Sampling From the Manure Storage
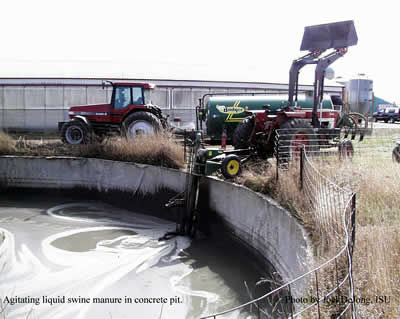
Picture Source: http://www.extension.iastate.edu/pages/communications/epc/Winter02/manure.html
Sampling a storage directly is much more difficult and likely to result in more variable results than sampling as the manure is loaded into the spreader. Agitate the storage thoroughly before sampling. Use a small bucket or tube to collect at least 5 samples from different locations in the storage. Combine these samples in a bucket and thoroughly mix the samples and take a subsample from this to fill the lab manure test container. When filling containers with liquid manure never fill the container more than ¾ full.
Liquid Manure Sampling Video
This video from the Iowa Learning Farms Project shows two sampling techniques for liquid manure storage prior to agitation. As indicated above, samples of agitated liquid manure should be obtained when possible, but in cases where the information from the lab analysis (which can take several days) is needed before manure can be applied to crop land.
Part 2: Sampling Liquid Manure
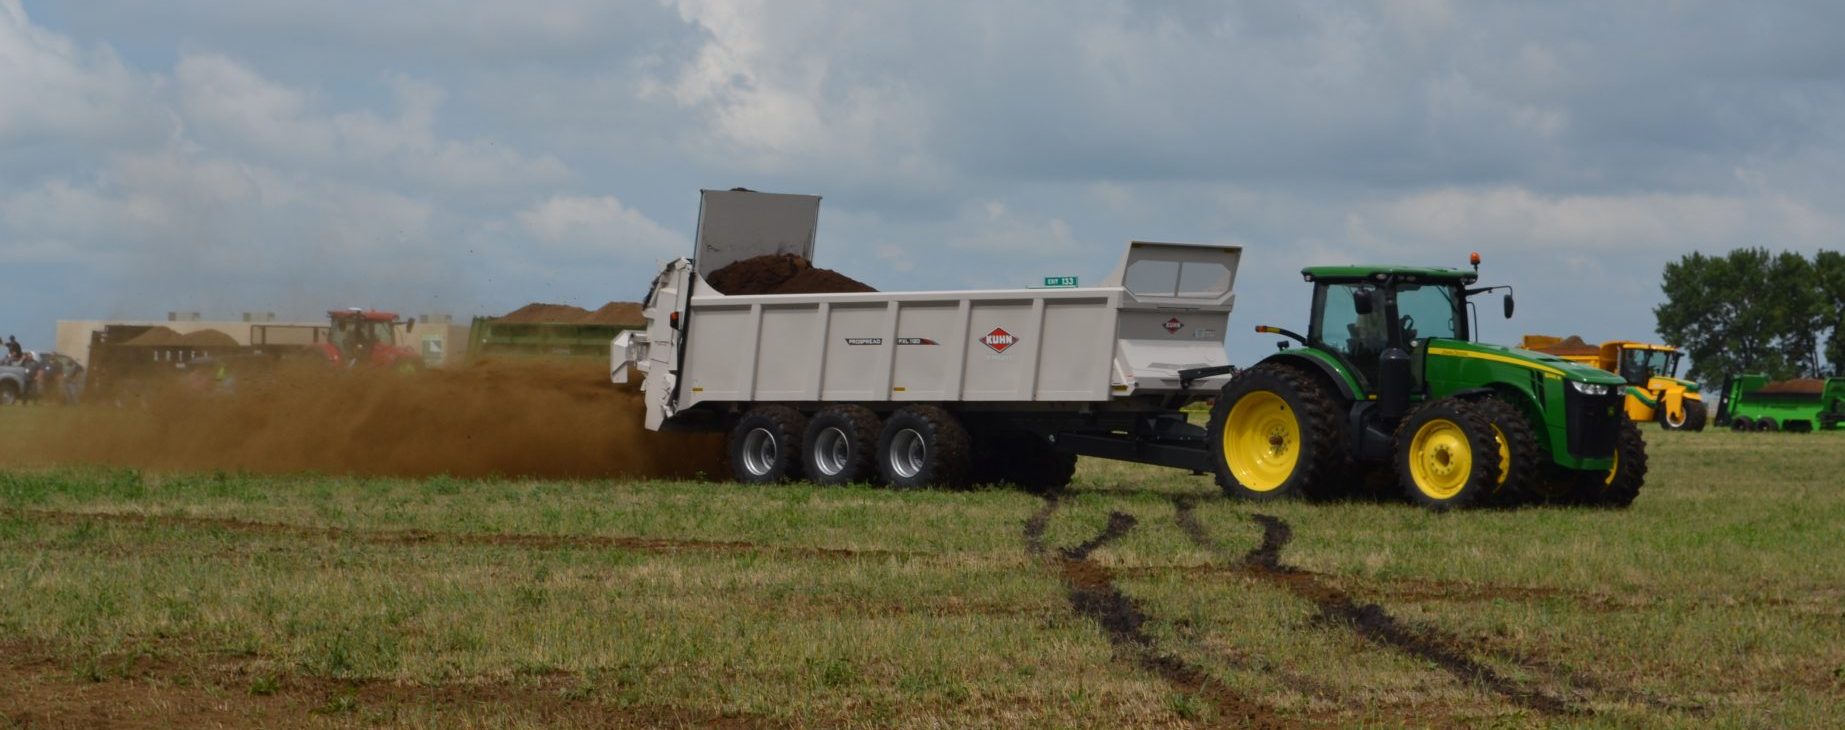
Sampling Manure During Application
This method is good for irrigated manure. Place buckets around the field to catch manure from the spreader or irrigation equipment. Place these to collect manure from more than one spreader load. Combine and mix the manure collected from different locations, and take a subsample from this to fill the lab manure test container. This method may give you “crop available ammonia nitrogen” as any ammonia losses may have already occurred prior to reaching bucket. What reaches the bucket is likely to soak into the soil and be available to the crop.
Related Web Pages
Overview of Manure Testing
- Step 1. Manure Sampling
- Solid Manure Sampling Procedures
- Liquid Manure Sampling Procedures (you are here)
- Step 2. Manure Test Results
- Step 3. Total and Available Nutrients
- Step 4. Manure Test Record Keeping
Page Authors: Douglas Beegle, Penn State University and John Peters, University of Wisconsin